I have not tested the amount of weight this bag can carry, but I'm fairly certain it is a very sturdy bag. Make sure you don't put any hook-like materials in the bag because it might catch on a loop. Also, sharp objects can cut the plastic, so try and think before you put various items in the bag.
Materials:
-Lots of plastic bags you get from places like grocery stores (I used about 16)
-Scissors
-Crochet hook (I used a size K)
Process:
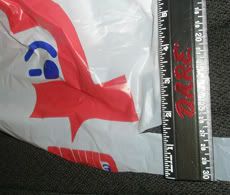
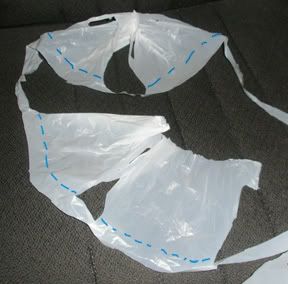 In order to prepare the plastic bags, you have to cut it into 1.5 inch strips. Cut in a spiral to make it into one long strip. Cut off the handles since they are in the way.
As said before, I used about 16 to make my bag, but you can always cut more later.
Now, you take the strips and crochet them into a bag. First of all, here's the pattern. It makes a bag with about a 7.5 inch base (diameter) and about a 9 inch height. (if your stitches are a little larger than 1 inch each)
1: Make 4 chains
2: Make 10 double crochets in the first chain (you may want to use a colored piece of yarn or twist tie to keep track on where the row starts)
3: Make increases until the row is completed (if you want your bag's base to be smaller, then omit this row and continue to the next one)
4: Make 2 increase stitches, then a double crochet and repeat this until the row is completed
5: Make an increase stitch, then a double crochet and repeat until the row is completed
6-14: Make double crochet stitches until 9 rows are completed (you can add or decrease more rows to control how tall you want your bag to be)
At the end: Make a single crochet, make a slotted stitch, then end the piece
Here are some videos I made that explains parts in more detail than I can type out:
-Beginning the bag (Includes how to make a chain, double crochet, & increase)
-Ending the Bag (Includes how to single crochet, slotted stitch, & end)
To make the handles of the bag, there are many styles you can do. There is the one long strap you can have and put over your shoulder like a messenger bag or two shorter ones you can use like the grocery bags. It's all up to you, but here's the pattern to make the strap:
1: Make three double crochets on the bag as if you were continuing to build up on the bag's sides (if you want your bag's strap fatter or skinnier, then you can add or subtract the amount of stitches)
2: Turn your work around. Make 3 chains, then make 2 double crochets
Repeat the above row until your strap is as long as you want it
At the end: Make 3 slotted stitches to join the strap to the bag (where ever you want it)
Here are some videos I made that explains parts in more detail than I can type out:
-Making the strap (Includes how to make a chain, double crochet, and slotted stitch)
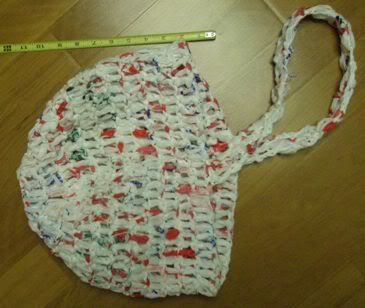
This is the final product:
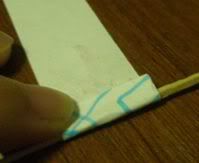
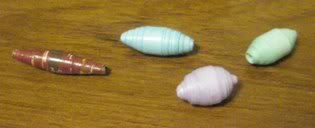
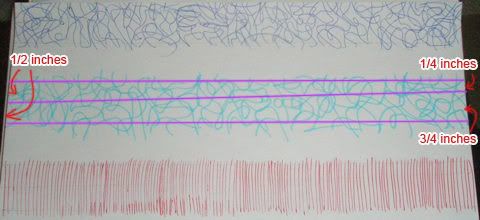 Now, draw lines the long way of the paper to use as guides when you cut the paper. One strip should be 3/4 inches wide then taper to 1/2 of an inch. The second strip should be from 1/2 of an inch wide to 1/4 of an inch wide. (see the picture for a better explination) If you want to decorate your bead, use a pen and scribble on it, make stripes, or do what ever you want! I used a ball point pen, a highlighter, and the bottom is a gel pen.
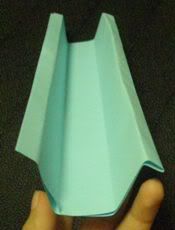

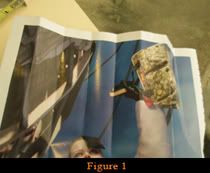

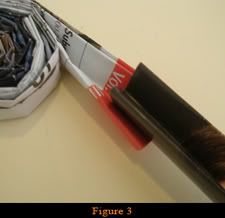
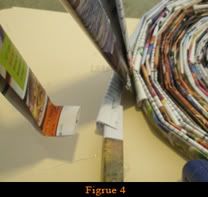
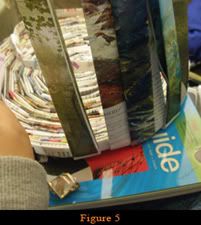
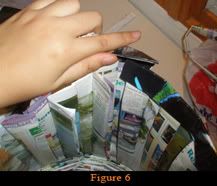
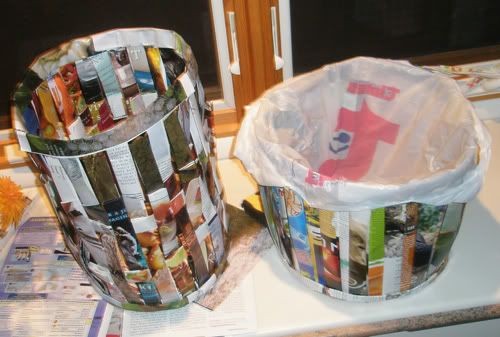
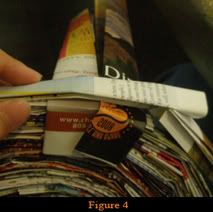
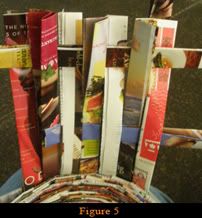
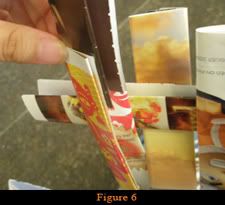
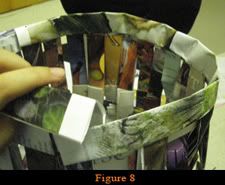 After you finished the sides of your trashcan, you have to finish the rim of it. Get more of those sheets folded three times and pre-bend them in a circle since they will be covering the rim of the trashcan (and you don't want to waste time bending them in shape while the glue is drying). Then glue the sheets, so they cover the edge of the trashcan (see figure 8). Make sure you overlap them, so it's more cohesive.